Tuesday 31 March 2015

I hope all of you had a chance to get 'scrappy' this weekend I know I did! Here is "Your Smile" our newest Minute Mini Kit.

I will also be posting an event calendar later in the week with all of the crops we will be attending and a couple upcoming classes we are offering!


Wednesday 17 December 2014

Mini Monday - Binding With Metal Fasteners


It’s time for another Mini Monday and today I am going to show you some tips for binding your Mini album with a metal prong fastener side binding.


Prong fasteners are inexpensive and available from all stationary stores.

First decide on the size you want your base pages to be. Add ½” to both the height and width to determine the size of your front cover will be.  My base pages measure 5 ½ x 5 ½, so my front cover will measure 6 x 6.

Cut a piece of chipboard to 6 x 6. Next you need to cut a 1” strip from the 6 x 6 piece of chipboard so that you now have 1 piece measuring 5” x 6” and 1 ’side’ piece measuring 1” x 6”.

Detailed instructions on wrapping covers can be found ****Nov 10th blog post***.

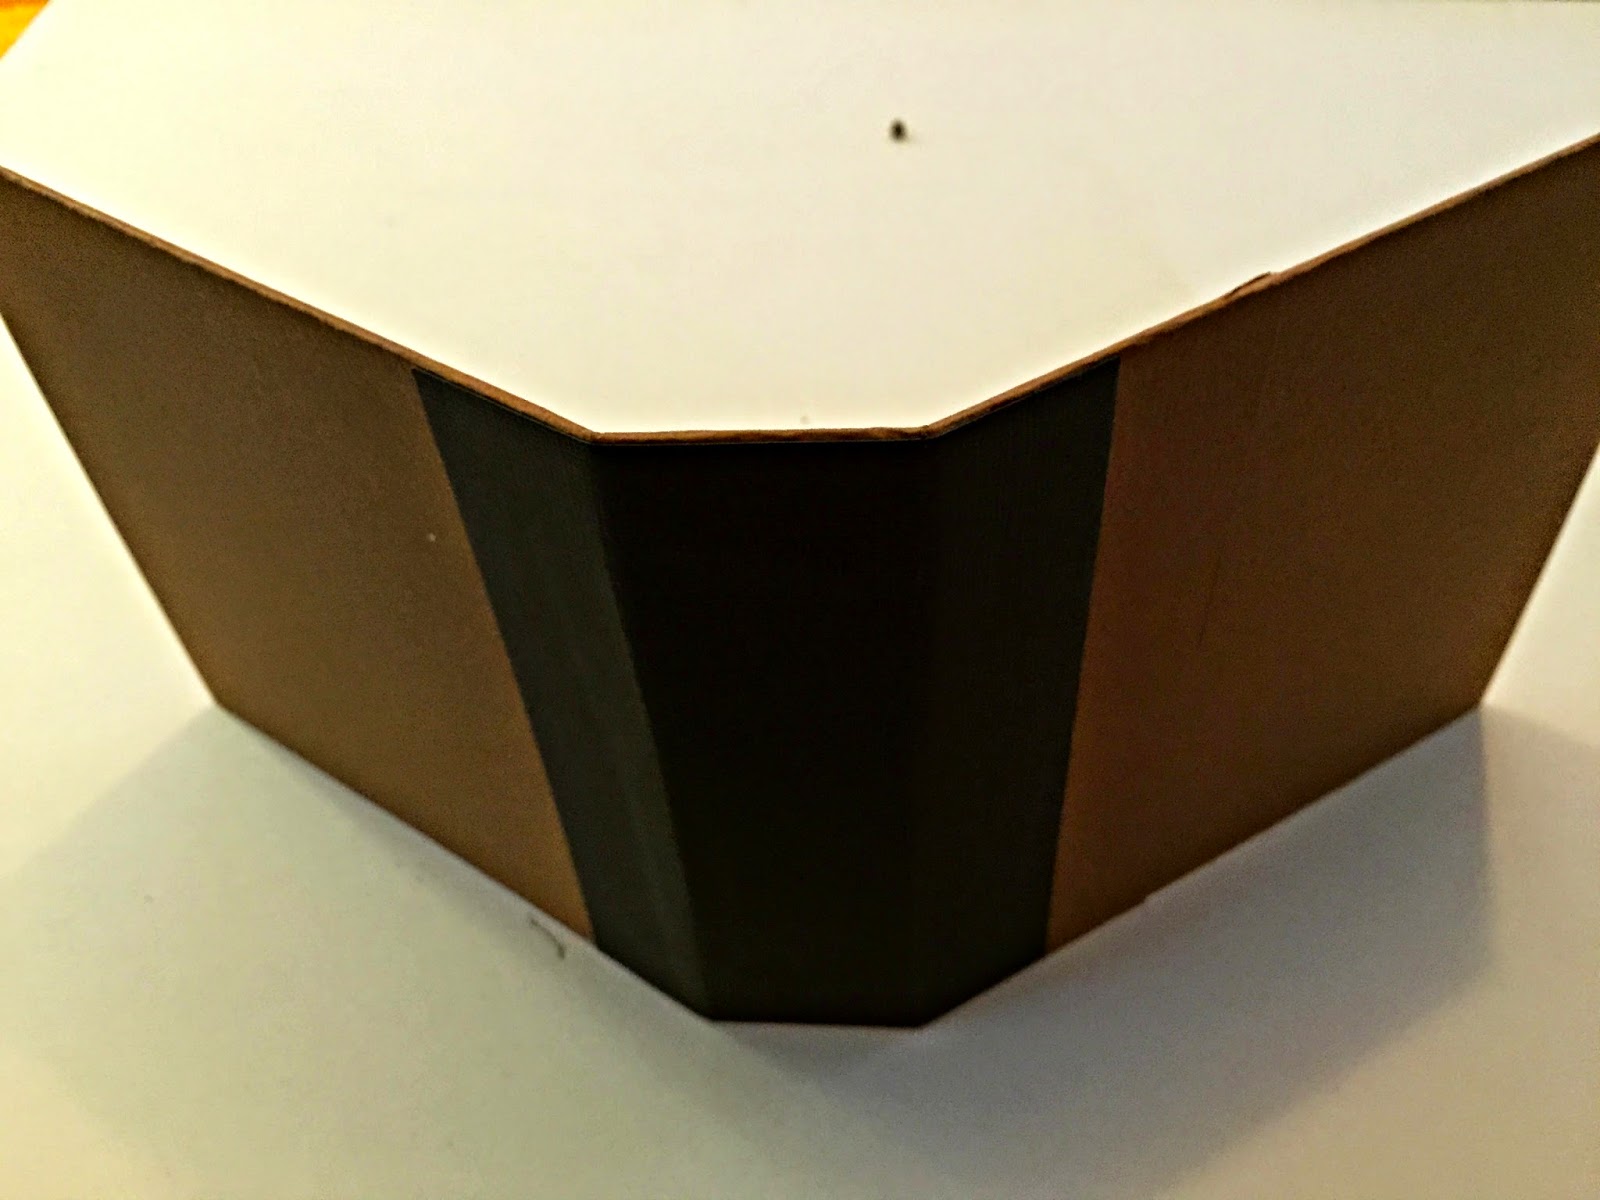
For this side bound album place your chipboard as pictured below leaving a 1/16” space between your 2 pieces of chipboard. This will allow your cover to bend and the large portion to open. 


After covering the inside of your cover using cardstock gently run your bone folder along the gap between the 2 chipboard pieces to form a crease.


Next you will need to score all of your base pages 1” from the LEFT hand side. (In the photo below I have flipped the base page face down during scoring)


To allow more space between base pages for embellishing I suggest you insert chipboard spacer strips.

Cut 1 spacer strip from chipboard for each base page in your album. (For extra space you can double the number of spacer strips you use).

The size of your spacer strip is determined by the size of the side strip you used in the front cover, subtract ¼” from the width measurement. For example my spacers measure ¾” x 6.


Next we need to punch holes for our metal fastener. Place the top piece of the fastener on the 1” ‘side’ strip, centering it top to bottom and trace the holes using a pencil.


Punch the holes using your pencil marks as you guide.


You will now use your cover as a template, line up each base page, spacer strip and back cover, trace the holes, and punch.


Cut a piece of cardstock or coordinating patterned paper  5 ¾” x 3” to use to cover the outside spine of your mini. Using your template punch holes on both the left hand and right hand side of this piece as pictured below.


Grab your metal fastener and insert it into the holes you punched in your back cover.


Next place the piece you cut to cover your outside spine onto the fastener as pictured below. (Note that you are inserting the holes on the RIGHT side of this piece)


Continue adding pages to your fastener, alternating one page, one spacer strip as pictured below.


When all of your pages are attached it is time to wrap the 

outside cover binding strip back over your prongs as pictured below.


Finish by placing your front cover on the prongs and closing your fastener as pictured.


Monday 8 December 2014

Mini Monday - Binding Systems - Tim Holtz Binder Rings


Hello everyone!!  It is time for another Mini Monday.  This time we are going to talk about using Tim Holtz Binder Rings


These are handy little stationary type products that are super easy to use.    They come in two different sizes and are very economical to purchase.  This rings make binding a mini album with a closed cover a breeze.


After you have created the cover for your mini album you are going to want to find the center of your spine and draw a line from top to bottom.


Once you have marked the center of the spine line up the Tim Holtz binder ring on that line.  Make sure you are centered from top to bottom and side to side.

Now that you have the placement you can go ahead and mark the holes for the brads.


Then go ahead an punch your holes.  


Line your Tim Holtz binder ring up with the holes you punched and attach it with the brads.


The prongs of the brads are going to show through on the front side of your mini album cover but we are going to show you how to hide those.  :)


You will need to cut a coordinating piece of cardstock the same height as your mini album cover.  The width of the cardstock should be the width of your spine plus 2 inches. You can make it wider if you like.  Depending on the look you are going for.

Once you have the covering piece cut apply Scor Tape.


To ensure there is a good stick between the album and the covering piece add Scor Tape to the spine of the album.


Remove the backing from all the Scor Tape and attach the covering piece to the cover.


 To punch the holes in your pages all you have to do is center your pages in the album and make the hole placement with a pencil.  And punch!  Easy Peasy!!!  :)


Thanks for dropping by!!  

Happy Scrap'n 


Monday 1 December 2014

Mini Monday - Binding Systems


Good morning everyone...Well I guess it is closer to afternoon.  :)

Today I thought I would talk about mechanical binding systems.  More specifically The Cinch by We R Memory Keepers.  This handy, well made tool makes book binding of all sizes literally a cinch.  

First lets take a look at The Cinch.


It looks more complicated than it is.  :)  Here is a pic of what all the parts and pieces do.  This was taken from the We R Memory Keepers Website.  They have amazing instructions on how to use all of their tools.


This is probably a little hard to ready but you can view the original document HERE  

I own one of these machines and I love it.  It is super easy to use.  There are instructions and a measuring guide printed right on the the platform.   There is also no pre-measuring, all of your measurements are done right on The Cinch.


The handle is very large and provides lots of leverage so punching the heaviest book board is a breeze.  There is also a handy waste bin on the bottom of the machine to catch all of punch garbage.

The number of holes and how far apart the holes are is very simple to customize.  There are several pegs along the front of them machine.  You simply pull a peg out if you don't want the hole punched.  Easy Peasy!!  


To actually bind the book you can use the We R Memory Keeper coils and spiral coils or you can use binder rings, ribbon...the possibilities are endless.  We R Memory Keepers also has a whole line of chipboard, coils and other products that can be used with The Cinch.


Here is a quick video to show you how The Cinch is used. 


You can find The Cinch at most online stores or your local craft store.   It is an investment but definitely worth it.   Shop around to find the best price.  


Thanks for stopping by!  Remember we would love to hear from you.  If you own a Cinch let us know what you love about it.

Happy Scrap'n!